Adding and editing users
To add or edit user information in WorkSchedule.Net:
- Go to Users > Manage Users.

- To add a new user, click Add User. To edit a user, click the pencil icon to the left of the user name. Note: Use the filter tool
 to easily find users in the list.
- Edit any user information as needed.
- From the General Tab, enter Personal Information:
- First Name: The first name of user.
- Last Name: The last name of the user.
- Initials: The initials of the user.
- Email Address: The email address of the user. This is the email address that will be used to send account log in information to the user.
- Date of Birth: The birthday of the user.
- Home phone: The home phone number of the user.
- Work phone: The work phone number of the user.
- Next, enter Permission Information:
- Role: The role of the user. For more information see Creating roles.
- Default View: The default view of the user. For more information, see Managing Views.
- Default Mobile View: The default mobile view of the user. For more information, see Managing Views.
- Home Location: The home location of the user. The home location controls what other users can access this user’s account in the Users area. A user whose role allows access to user accounts for this home location would be able to edit this user’s account information.
- Next, enter Miscellaneous information:
- Notes: This allows you to add notes about the user.
- External ID: An identifier that is used by an outside system. This is used in custom integration with external systems such as HR or time tracking.
- Background Color: This color will be used when your schedule Color Scheme is set to Color by User
- Click the Main Categories tab

- Enter the following information, if applicable:
- Main Area:The area this employee is assigned to or works in the most.
- Main Position: The position the employee is assigned.
- Main Time of Day: The time of day or shift the employee normally works.
- Click the Managers tab
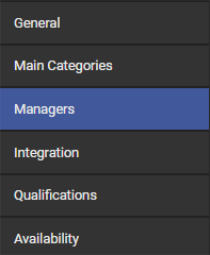
- Select one of the Time Off Manager Options, if applicable:
- Use managers of home location:Only allows the manager of the home location to approve time off.
- Use specific time off managers:This section gives you the ability to allow a manager outside of the user's main department to approve/deny time off requests submitted by the user.
- Click the Integration tab
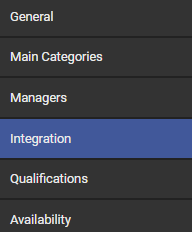
- Enter the following information, if applicable:
- Payroll
- Payroll ID: If you wish to export your payroll information, this number must match the Payroll ID for your payroll service. *This number must be unique between users.
- Hourly Rate: Enter the amount paid to an employee for each hour worked.
- Time Off
- Default Paid Hours: This option allows the manager/admin to set the amount of hours each employee will be paid by default. Meaning, an employee can request off 24 hours, but they will only be paid the default amount of hours. See Time Off for more information.
- Auto Schedule
- Rank:Enter the users rank. The Rank is used with the "Schedule employees by rank" auto-scheduling rule. For more information, see Preference Rules.
- Max daily hours: Enter the maximum daily hours of the user. The default is 8 hours.
- Max Weekly Hours: Enter the maximum weekly hours of the user. The default is 40 hours.
- Payroll
- Click the Qualifications tab
In the Qualifications section, you can qualify users for areas, as well as any of your other categories that you have indicated are "qualifiable " in the Categories Setup. Qualifying an employee for a category item can be used in conjunction with the qualification rule, to ensure that employees are only scheduled where they are qualified. You can enter a rank which can be used in conjunction with the rank rule, to prefer employees who are better suited for certain tasks, departments, areas, etc. when using auto-scheduling features. Qualifications and ranks have no effect unless the corresponding rule has been added in the Rules section.
- Click the Availability tab
- In the Availability tab, as a manager, you have the ability to enter, view your employee's availability. See Manage Availability for more information.
Mass Edit Qualifications
Mass Edit Qualifications allows you to Add or Remove qualifications (categories such as Departments, Areas, Tasks, etc.) for many users at the same time.
To Mass Edit Qualifications in WorkSchedul.net:
-
Go to Users > Manage Users.
-
Click Mass Edit Qualification

-
Select the if you want to add or remove a qualification

-
Next select the category you would like to add/remove many users to.

-
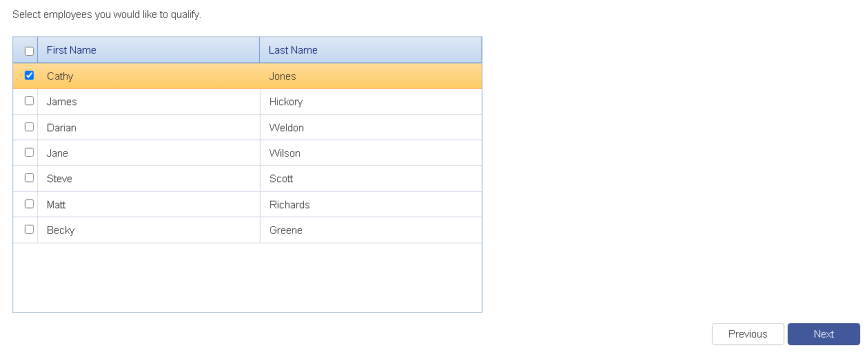
Then, select the users you would like to add/remove qualifications for. Note: You must select at least one user.
-
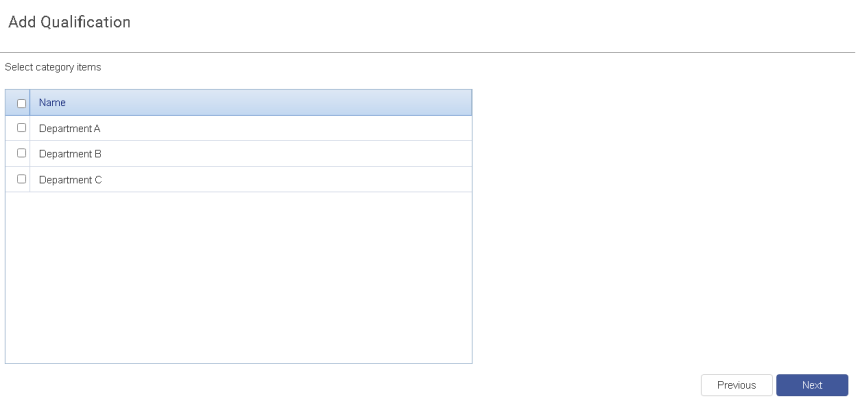
Select the category items (in this example, Departments) you want to add/remove qualifications for.
-
If you are adding qualifications you can also edit the rank (for auto-scheduling purposes) for the selected users in these category items.

-
Finally, confirm that the employees and respective category items you are changing qualifications for are in the list, and click Finish.

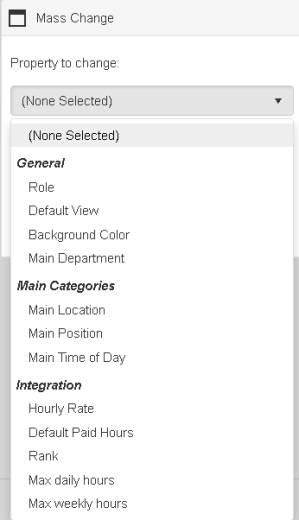
Mass Edit Selected Users
Mass edit selected users lets you change most options from the user record (max weekly hours, default view, rank, etc) for multiple users at once.
To Mass Edit Selected Users in WorkSchedul.net:
-
Go to Users > Manage Users.
-
Select the users you want to edit by checking the box next to their names and then click Mass Edit Selected Users.

-
Select the property to change from the drop down menu.
-
Make necessary changes and click Change Property.
Copyright © 2021 Program Works